
The story of this project began back at the end of my second year of fashion school, when I was out to buy fabric for the final pattern-making and sewing exam.
That was around this time of year, in 2013. That's a long time ago.
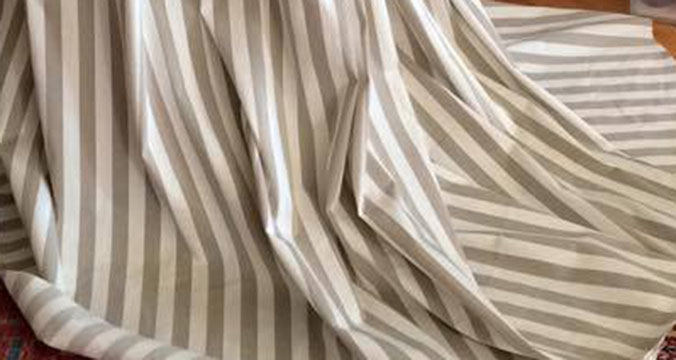
I did buy the fabric I intended to buy, but I also found this gorgeous cream and beige striped silk, that was on sale and I fell in love. Who can blame me?
Mind you, back then I had made one proper historic costume for myself and had started another that got abandoned, so this was kind of the beginning of how I got really into the historically accurate stuff.
The moment I saw it, I knew this was to become a late-ish 18th century gown, but with fashion school being crazy busy and then moving to Cologne for my costume design course, it got tabled for a long while.
Until last year to be exact.
I am now quite happy that I didn't get to this project any earlier (and especially not before Cologne!) because ever since buying the fabric I learned A LOT and I am not sure if back then I would have been able to make something that I could be as happy with as I am now with the finished product.
But before I could get started with the dress, I needed new stays.
I had already made a set of 18th century fully-boned stays way back in 2011, they were part of the super-pink rococo ensemble I since abandoned.
Let's just say, they were made from an unaltered commercial pattern and didn't fit great, it wasn't that well made and - gasp! - they had metal eyelets.
Witness the poor fit (the main issues are the overlap in the back and the too-low cut in the front, but other than that they were also REALLY uncomfortable), the terribly uneven and semi-well bound tabs and the horror of the metal eyelets. Can you tell metal eyelets on 18th century stuff are a pet-peeve of mine?
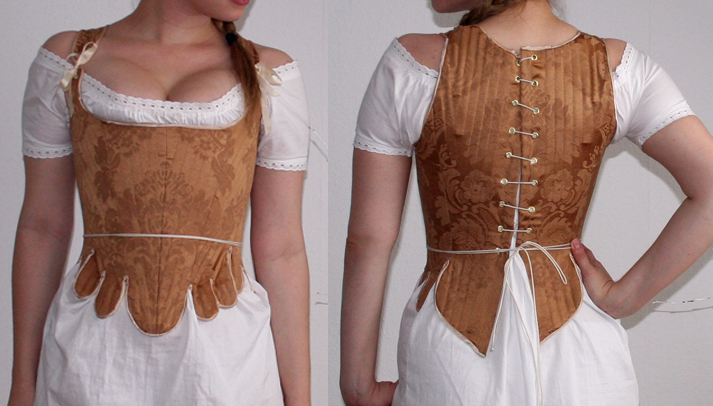
In Cologne I had made stays for the Duchess Riding habit, the look of which I absolutely adored, so I wanted to make a similar set for myself.
I absolutely love the boning pattern on these, so I drafted a similar pattern according to my measurements.
As my day job I work in the costume departments of movies (not as glamourous as one might think) and the stays were made in my free time in between being key wardrobe for a big cinema production, so I didn't really take many pictures.
Most of my hand-sewn eyelets were done in a big set dec change during a night shoot, so at least that was a somewhat productive use of two tedious waiting hours.
Except for the eyelets, the binding and whip stitching down the seam allowances on the inside, the stays are machine sewn. I would not have had the patience to hand-stitch all those boning channels.
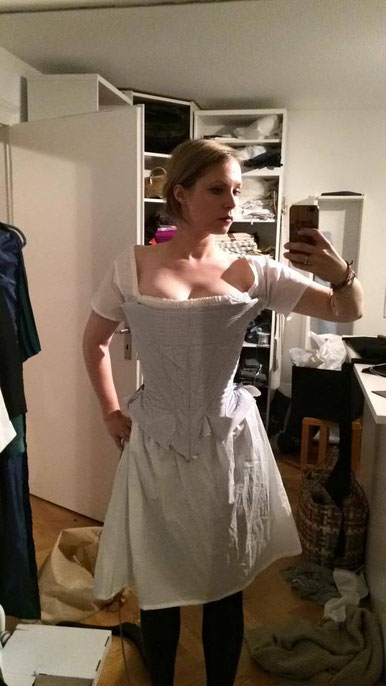
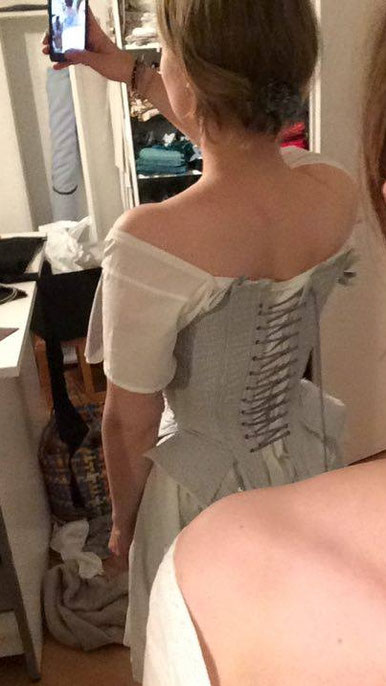
This was my first time trying it on after putting in most of the boning. I had done a mockup before just to check the proportions, but you can't say much about the fit without boning and properly lacing the stays, so I was quite happy everything worked out.
With some contortionist action I managed to pin the straps on myself after I took these photos, so they ended up being the correct length.
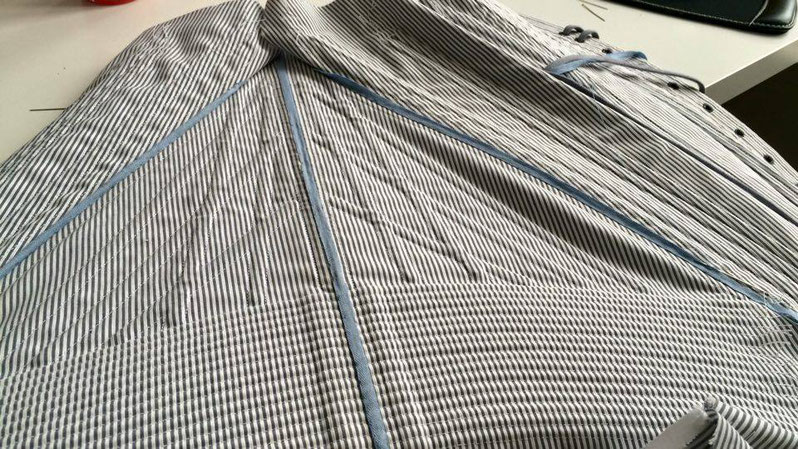
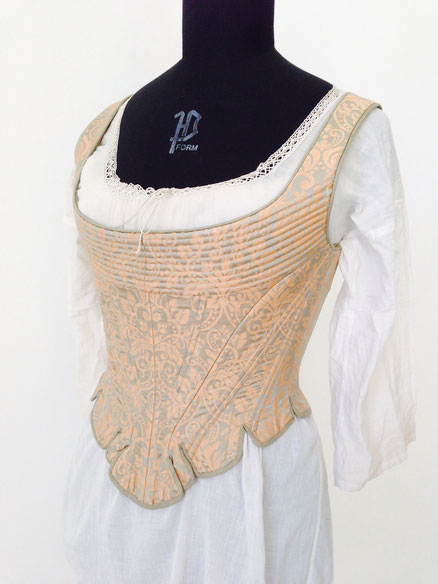
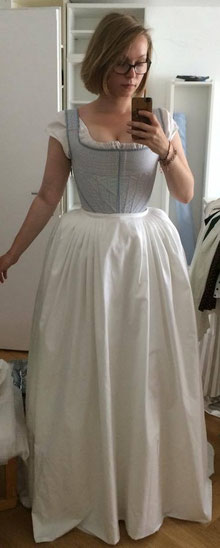
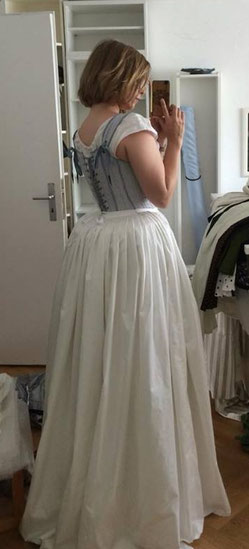
After some tiny alterations I hand-stitched fine cotton ribbons onto the main seams to optically enhance those lines. I dyed those ribbons, my cord for lacing and the fabric I used to bind the edges in a light blue to match the stripes of the outer fabric I used.

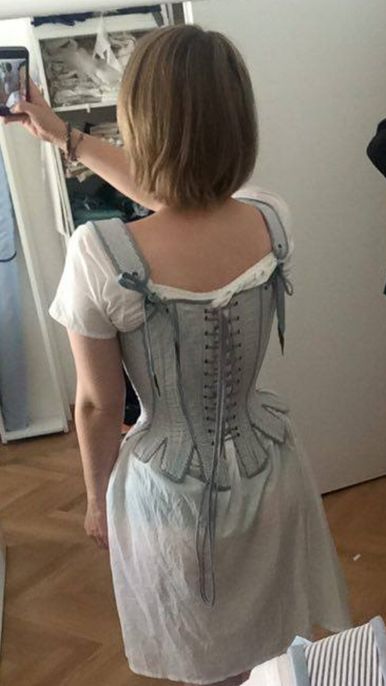
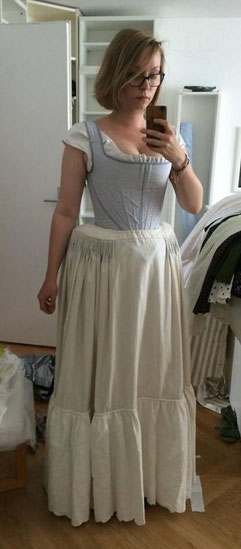
And here it is all done!
I did the binding completely by hand because I learned the hard way that it sucks to do it by machine. Or at least that I suck at doing it by machine.
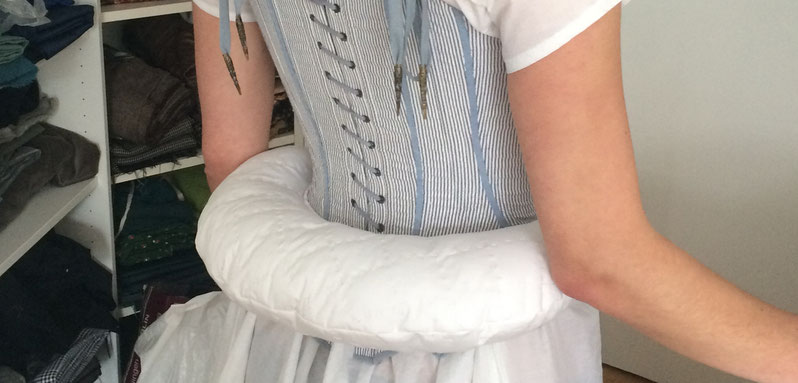
I also made a bumroll/bumpad to to go under the petticoats (modelled by my friend, thank you!)
And then I also made two petticoats, the one on the left is made with a yoke (I explained this stage and screen trick in my post about the Duchess riding habit) and has a cord gathered and pinked flounce around the hem to add volume.
The lighter one in the middle and on the right is made from cotton sateen and will be visible when the gown is worn. It wasn't done at this point, but more on that when I post about the rest of the ensemble!
Write a comment