
Warning, long post ahead! If you only want to see pretty pictures, scroll to the end :)
During the Costume Design course I took at ifs Cologne in 2014/2015, probably my favourite class was the costume reproduction class.
My 8 classmates and me each picked a (historical) movie that centered around the topic of love triangles and chose a costume from it to reproduce.
The movie I ended up choosing was "The Duchess", directed by Saul Dibb and starring Keira Knightley in the lead.
I chose it for one because I LOVE 18th century fashion, that has been my favourite silhouette for a while, but also because the costumes in this movie in particular are just gorgeous (costume design by Michael O'Connor).
And there are so many of them! For the presentation I did on the movie I counted around 30 costumes on Georgiana alone!
Georgiana of Devonshire was an "It-Girl" in her day (and passionate about politics and charity to boot!) so even more than in most costume movies, the costumes in "The Duchess" tell a lot of the story. It's truly fascinating and each and every time I watched it in preparation for the project and presentation I found something new.
I highly recommend the movie, even though at first fleeting glance, it seems like another one of those generic movie-about-women-in-history-films. But it's worth the more thorough second glance. And the third and fourth and so on.
But back to the project!
The task was to make the costume to measure for a classmate and to make it as historically accurate as time and skill allowed.
Our experience levels in this field were quite varied, I had made historical costumes before, but not at this level.
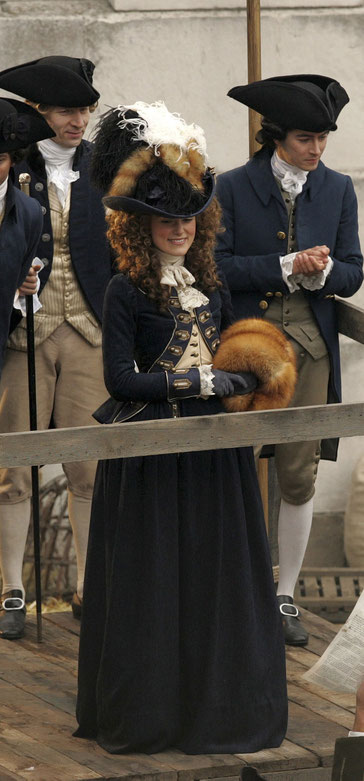
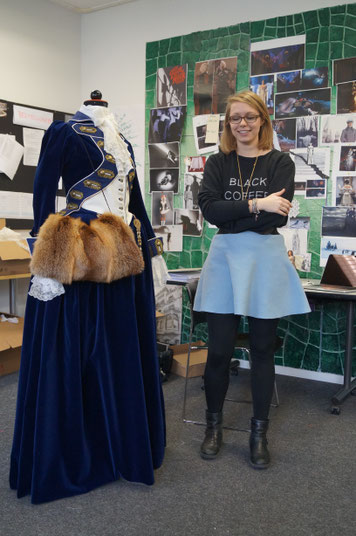
The riding dress Georgiana wears for a political event of the Fox party is absolutely stunning, I love how it incorporates uniform elements and tons of tailoring details.
Just in general I adore "layered" costumes. I think in a lot of movies (and also in a lot of reproduction work), costumes seem flat and incomplete, because they are lacking layers. Taking this dress as an example, they could have made it with a compere stomacher instead of a separate vest and both the collar and sleeve cuffs could have been attached to the jacket instead of having an extra shirt layer.
This costume is literally used in one single scene, who could blame them?
But you can totally, 100% see and feel that the costume is layered. It gives it depth and adds to the reality of it, and it's wonderful.
(All costumes in this movie are like this, I just spent a lot of time with this particular one and it holds a special place in my heart)
This, however meant a lot of pieces to make and tons of work on each one.
I had another dress in my final selection, but my teacher flat out told me I had to make this one, because we needed to challenge ourselves for this project. Very well then.
I like a challenge, but it just so happened that this dress also included my one BIG sewing fear at the time. Velvet. My mortal enemy.
I have made a lot of things, out of fiddly fabrics, with tiny beads, with frustrating patterns but the one thing I had failed at several times up to that point was velvet. Velvet is a bitch (excuse my language). It shifts and rips surprisingly easily and just generally does whatever it wants.
All things velvet I had tried to make before had ended up in misshapen, ill-fitting lumps with crooked seams and this costume is like, 80% velvet + a tailored velvet jacket. Well crap.
Now it turned out this project heard the word "challenge" and then outdid itself.
Because about 5 days into the class, my classmate and model Theresa broke her foot. So I couldn't just quickly try the costume on with her whenever I wanted, like all my classmates could.
This way it was closer to how it is with actors and fittings in real life, but I mean... why.
The thing needed to be made anyway, so I started with something I was already somewhat familiar with: the undergarments. Here is a very flattering picture of me working on the shift.
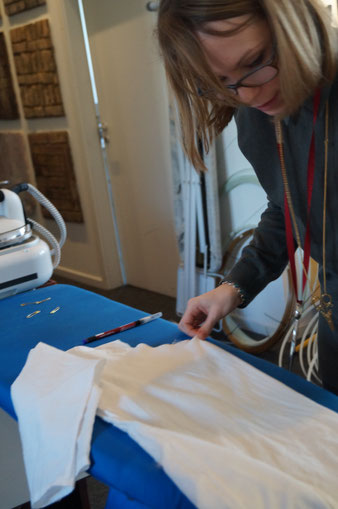
It is a simple thing with side and underarm gussets, 3/4 sleeves and a lace gathered neckline. Your standard 18th century fare. But made from silk because it's for a duchess and because apparently I hate doing easy things.
Next the stays.
I had made stays before, but with a commercial pattern that didn't fit very well. Also with metal eyelets. I shudder at the memory...
So these ones were made with a lovely self-drafted pattern and with horizontal reed boning in the front, because it's very pretty and out of a fabric that was also very pretty but frayed like CRAZY. It kinda seemed as if all of the fabrics wanted to prove they could be just as bad as velvet. The answer is "No, stop trying.".
Also, hand-sewn eyelets! Yay! I actually really love doing these and it had the bonus of my teacher being seriously impressed.
Now this is the point where I would have LOVED to have a fitting. This was the original plan for all the costumes - make the foundation layer, try that on, make alterations and finish the foundation layer and then have a correct base for the rest of the costume. But alas, with my poor model in the hospital, that really wasn't an option.
So with unfinished stays put to the side, I tackled the bum pad and the petticoat next since I was relatively safe there with only the measurements I had taken sans stays.
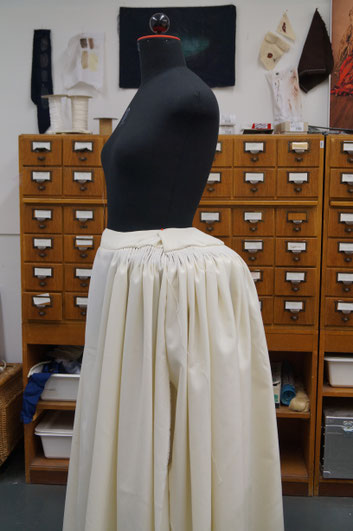
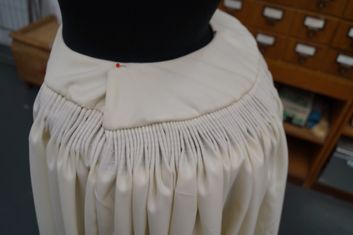
Yes, these are cartridge pleats attached to a wide, shaped yoke. Not historically accurate, but a popular trick for stage and screen to add volume over the skirt supports and around the hem, but not at the waist. And we were doing a costume design course at a film school after all.
For the petticoat I used 3 lengths of fabric, 150cm wide each - two in the back, one in the front, with a little section of the front left unpleated. The length difference the bum pad would cause is corrected by the yoke (it's wider in the back than in the front).
Still no fitting at this point (and my stays still an unfinished fraying mess).
So I moved on to the habit shirt, because that also isn't a very fitted garment.
I talked about the costume having tons of layers earlier, and a habit shirt is actually a very clever way to reduce bulk in a riding habit.
If it doesn't reach the waist like mine does here, it doesn't uncomfortably bunch up at the waist and its construction (slightly longer in the front with ribbons attached to the back that tie around the front) makes sure it sits nice and secure.
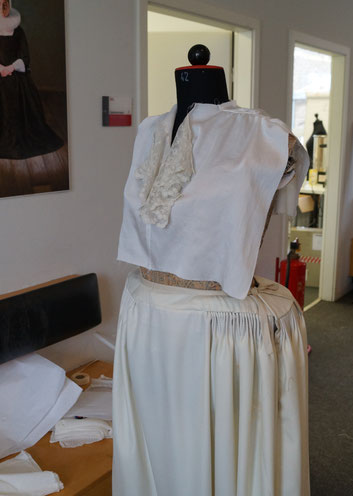
Here it is just joined and gathered at the shoulders with a jabot ruff at the neck opening...
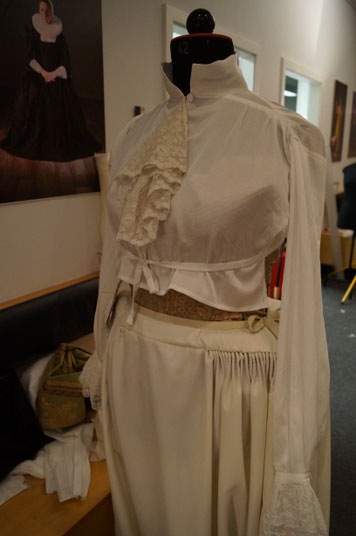
...and a little bit later with a collar, sleeves (with lace cuffs) and the ties. You can also see the shoulder gusset quite nicely here, it makes it fit a lot nicer, especially with a tight neck.
Still no fitting, so on to the velvet skirt. I have no pictures of that, probably because I was so scared of the velvet (also because it was exactly the same as the petticoat)
But for that moment, my worry turned out to be for naught, because I ended up doing the whole thing mostly by hand. The top was cartridge pleated again and not even our industrial sewing machines were able to get through cartridge pleated velvet. Cartridge pleats fall more nicely when you attach them by hand anyway.
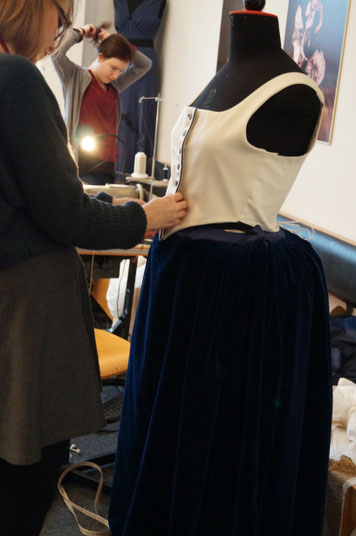
Next was the waistcoat. This was the first item where I was worried about the fit, without having tried on the stays. I based it on the pattern for the stays anyway, left tons of seam allowance and gave it a lace-able gap in the back. It's period accurate (at least definitely for mens wear) and made it just a little bit adjustable.
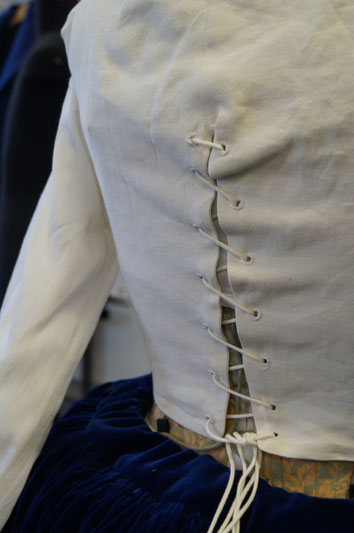
More hand-sewn eyelets of course, because they are the best.
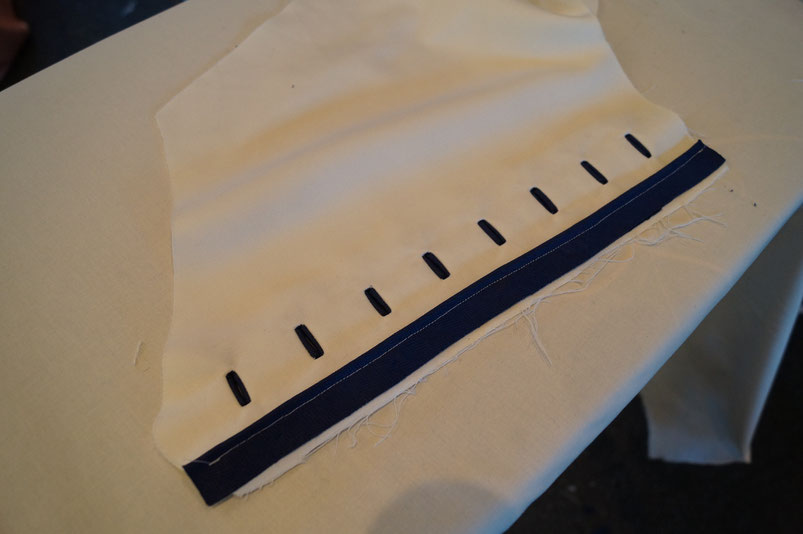
The waistcoat was also the start of THE BUTTONHOLES. They deserve all caps.
There are so many of them.
I don't know how they were done on the movie costume, but you can tell they're blue on white and white on blue, so instead of doing them by machine (nope), I decided to do bound button holes.
Now I would probably do them by hand, but this was over two years ago and it looks nice. Anyway.
The visible front edge of the waistcoat also has dark blue piping, matching the buttonholes and the other side has a boning channel with some spring steel in it, to keep the waistcoat front nice and straight.
Before this costume I had done maybe 5 bound button holes in my life. Then I did 30 more on one costume and I am now totally a bound-button-hole-pro.
I had to begrudgingly start on the pattern for the jacket at this point, still without a fitting.
I had the thing cut out (again with tons of seam allowance) when Theresa told me she could hobble around enough to come in for a fitting. Yay!
To make the most of the fitting, I tacked the jacket together as quickly as I could and just as I had one sleeve in, it was time to put her in the costume (with lovely Giuseppe helping by balancing Theresa while our teacher and me tugged at her)


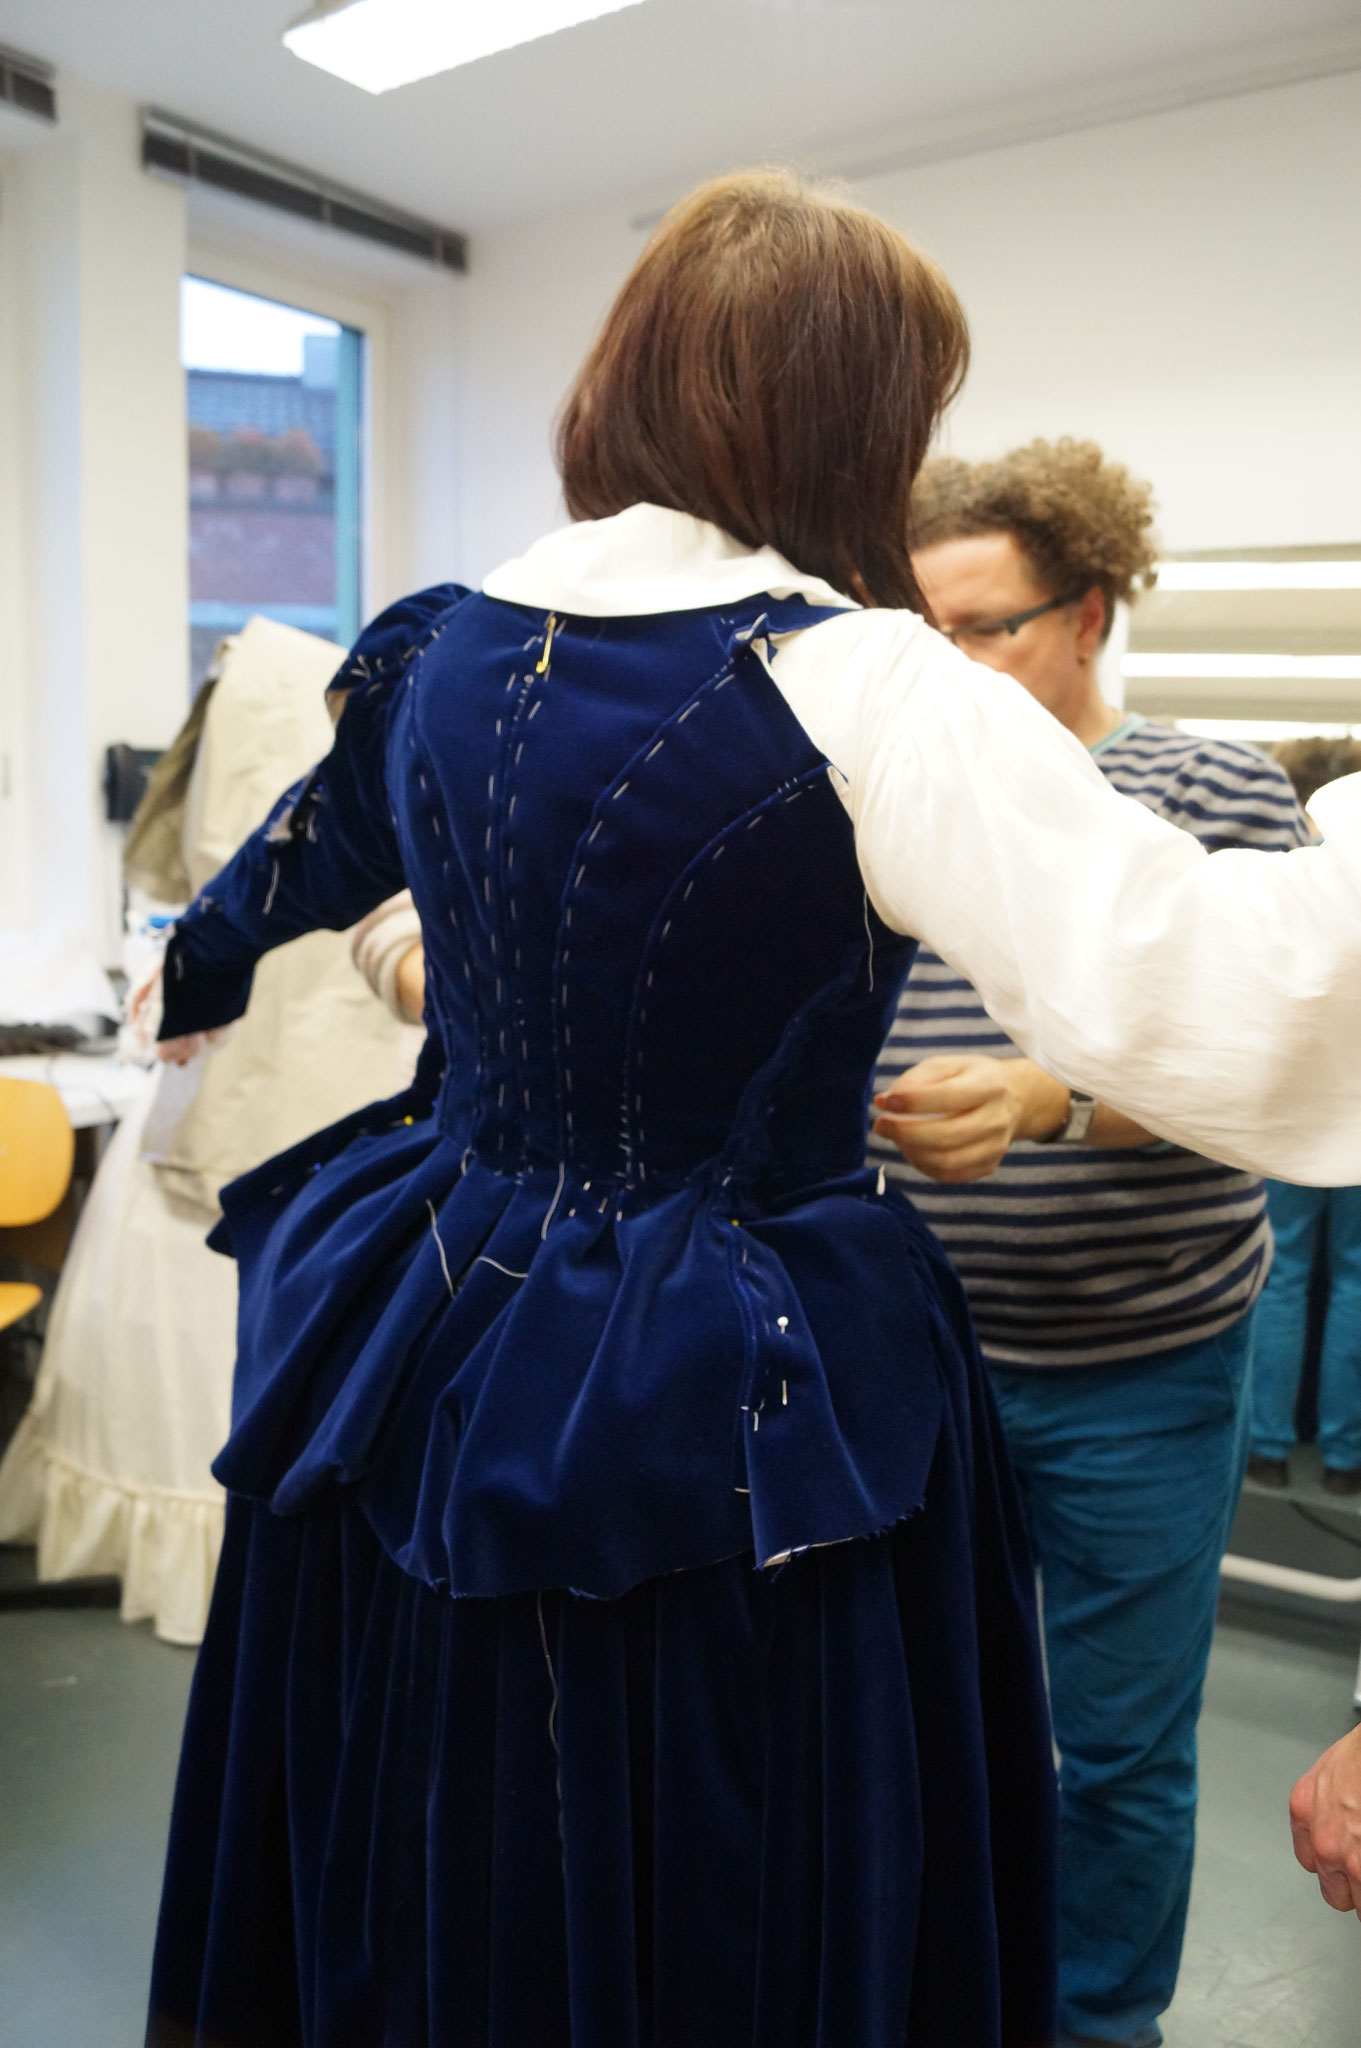


I know I made this all sound very dramatic, but I was EXTREMELY lucky and everything fit pretty much perfectly (I would love to say the reason for the good fit was skill, but seriously, it was just incredible luck with a dash of good measuring beforehand).
There were definitely changes to be made, but overall they were minor. Good thing too, because altering everything would have taken forever and there was much to be done still.
I took the hand stitches out of the jacket again, made my alterations and started actually sewing the dreaded velvet. So nervous at this point. It was definitely a hassle but with the tricks my teacher showed me, it was difficult but manageable. I didn't have to redo more than two seams, I think. I took the sleeve out and reset it what felt like 20 times, but that was a fitting problem, not the velvet.
As scared as I was of the material in the beginning, during this costume velvet and me reached a truce and we have developed a tentative friendship since. Because velvet is gorgeous and soft and drapes sooo nicely and did I mention gorgeous? Sorry I called you a bitch earlier, velvet.
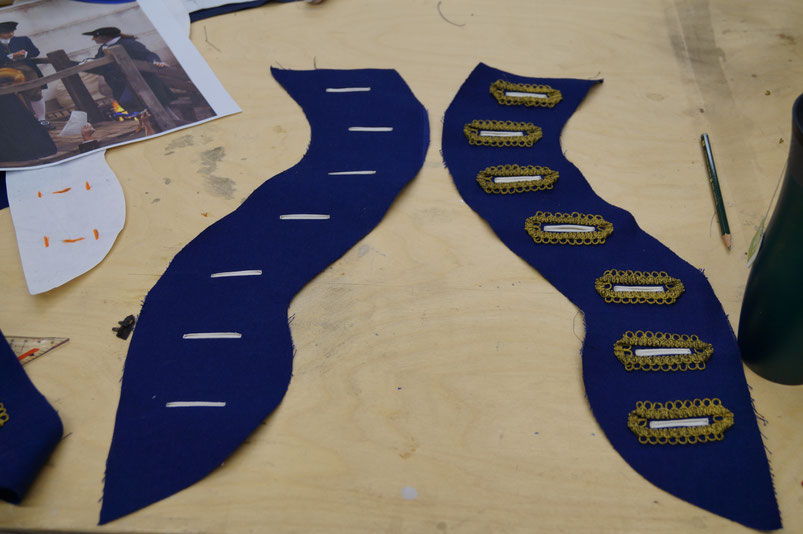
There were lots more button holes to be done, this time with added golden trim, and many meters of piping for the edges of the jacket. I also figured out that the collar of the jacket was cut in one piece (no collar stand), which gives it a soft curve instead of a distinct fold. That meant I had to drape it, which I had no idea how to go about. My historic pattern book basically said "Just go for it and see what your fabric does.". It somehow worked? But I have since not been able to recreate this kind of collar reliably, so I have to assume it was some kind of witchcraft.
This was also the time when we all started staying extremely late to be finished in time for the deadline.
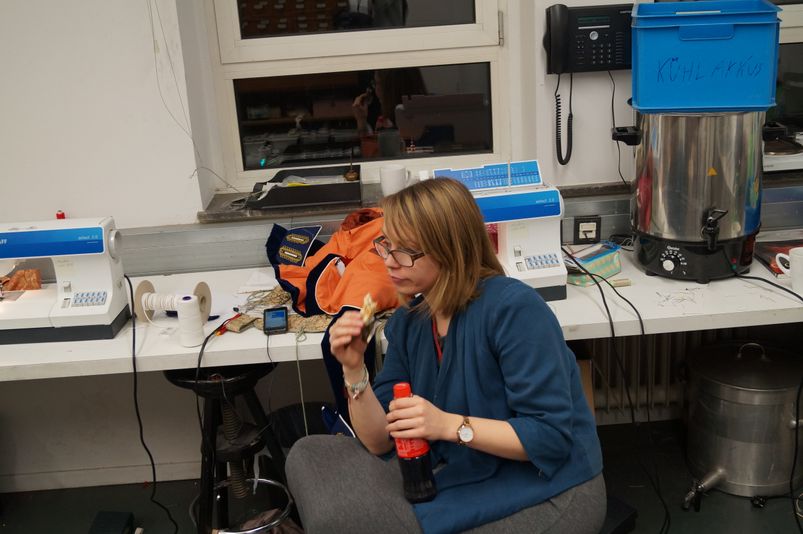
More extremely flattering photography of me, this time at around 3 am, alternating between coffee and coke (and eating lots of snack food). Behind me, squished halfway around the sewing machine, you can see the lovely orange lining of the jacket. Blue and orange were the fox party colours and I just loved that they included this little detail in the movie (which again, nobody saw).
During one of these late nights I also finished the necktie, the muff and the hat. No pictures because I was too tired and too busy.
I'm usually against using real fur, but there was an old fox-fur coat in the school's costume room that was perfect, so I took it apart. At least the fox is now part of a fabulous hat instead of slowly turning to dust in a closet and I learned how to work with fur. Win-win.
Finally done, very tired but also very proud and happy at the final presentation. I also managed to stay awake throughout all my classmates' presentations (which couldn't be said for all of us... ;) )


Some more all around shots. The only thing I'm not happy with on this costume is the peplum in the back. It doesn't fall nicely, I should probably have draped it instead of just constructing it on the paper pattern, but since I was in such a hurry to have everything done for my fitting, it couldn't be helped.
The chatelaines are made out of cheap Forever21 jewellery and beads.
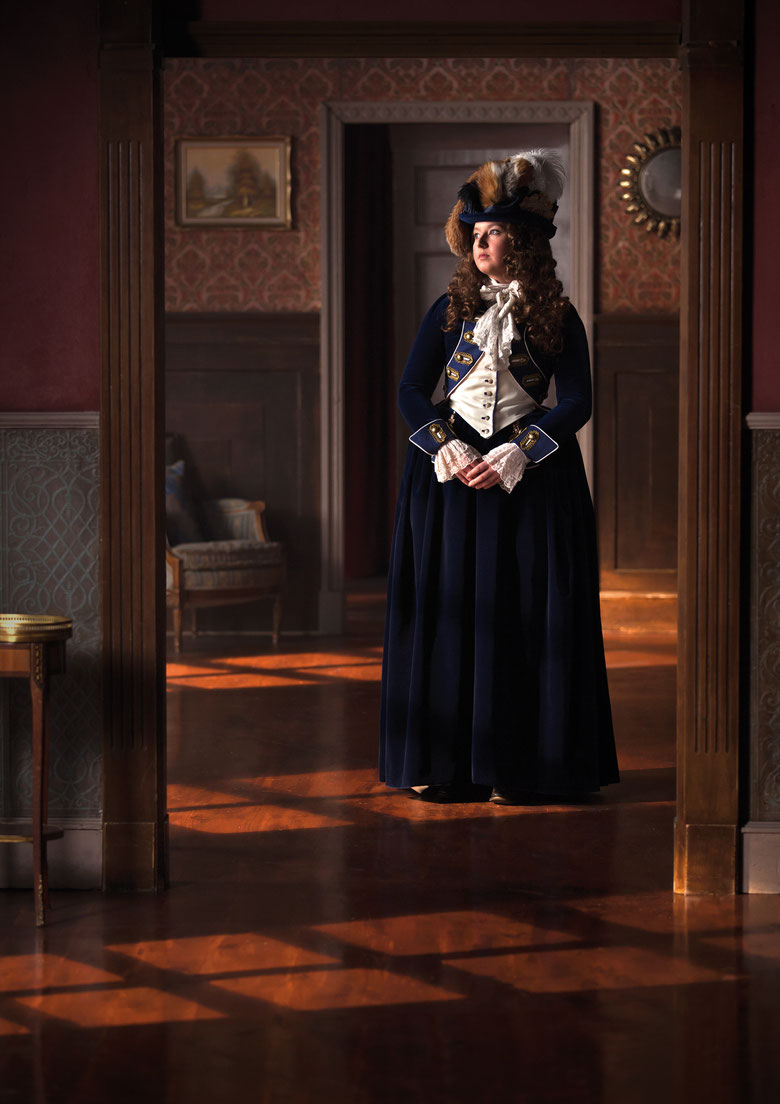
We also did a huge photoshoot for all our costumes, so have some more pretty pictures (also finally with the fabulous hat)!


Aaaaaand the final picture!
Write a comment
Morgane (Wednesday, 18 March 2020 11:36)
Oh such and interesting article !
I found it while doing researched for a riding habit and I am wondering about the historical sources for the habit shirt. Would you have some ? I just found one source in a museum, just 4 samples in total, this is not that much so I would love to have an other's perpective :)
Françoise Olivier (Friday, 04 September 2020 09:56)
Bonjour, il me plairait d’acquérir un ensemble costume de hussard
Je le souhaite bleu et blanc
Je suis une femme
Comment dois-je m’y prendre avec vous ?
Je vous remercie infiniment
Françoise OLIVIER
22 Grande Rue
70120 FÉDRY
FRANCE
olivierfnfn@aol.com